Saturday, March 17, 2012

Portrait of a Friend


Recently I finished a long overdue gift for a dear friend in Pennsylvania. I thought she would get a kick out of a whimsical portrait. I decided that a tote bag would be the best option to show off the portrait so I designed a bag for that purpose. The back of the bag has a large pocket and the sides are cinched with some cute bows.
I started with the face shapes in Amy Bradley's book, "Quilter's Yearbook." Then I recreated her hair from a photo and added simple facial features and clothes. The "eyes" are Velcro circles that act as fasteners for the shades. The portrait background is stipple quilted and the rest of the outer bag fabrics are quilted on the fabric patterns. The applique was fused and stitched using a blanket stitch and the hair and collar details with straight stitching. Ordinary blush makeup was applied to the cheeks.
I couldn't decide which style of shades she would wear so came to the conclusion that she needed a wardrobe of them. Instead of fusing the glasses to the face, I made them removable, fastening them with velcro circles.


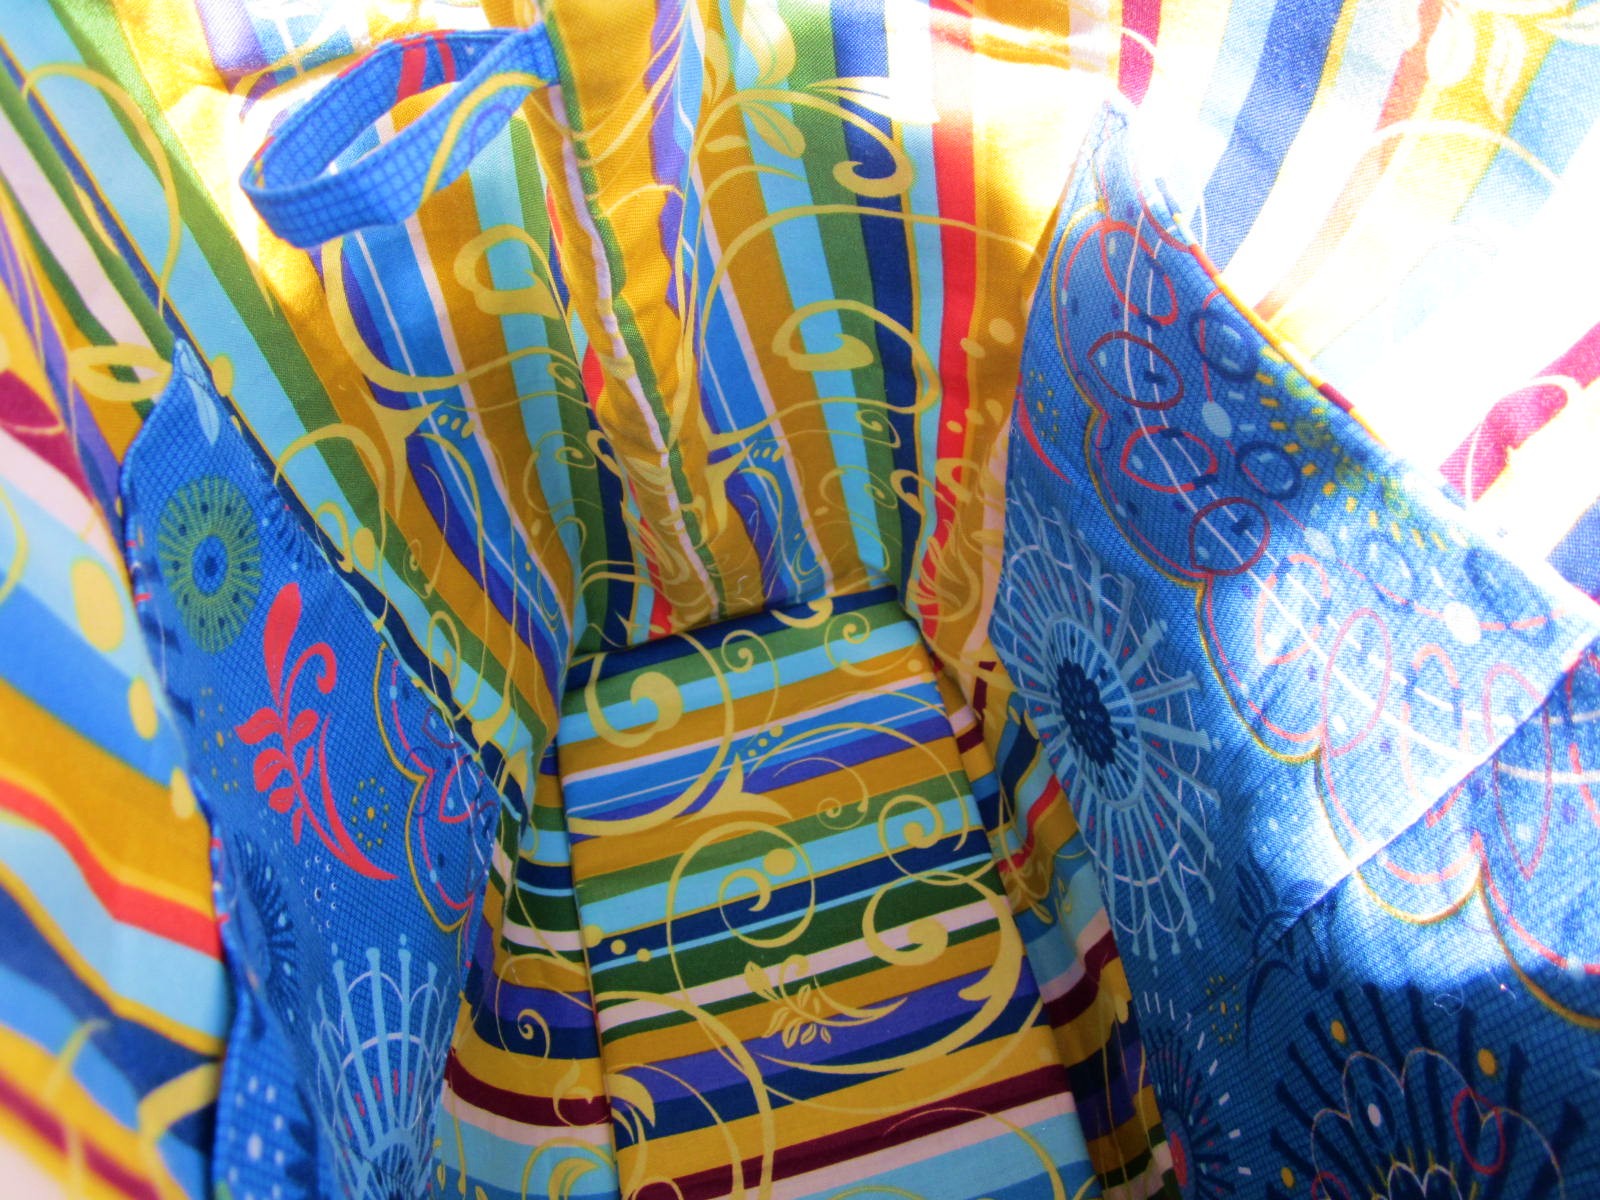
The inside features pockets on both sides, a covered stiff bottom piece and a magnetic closure.
My friend, Deb, received the bag in the mail yesterday. She loved it so I was very happy. I had fun making it.

Friday, March 2, 2012

Family Quilting Retreat

A couple of weekends ago my sister, Leslie, my daughter, Kecia, and I got together for a 3-day weekend quilting retreat at my daughter's house in Tustin. She has a huge studio room above her garage with lots of room for the three of us. We sewed and ate and sewed from Friday night until Monday afternoon. This is my sister Leslie at her sewing machine and at one of our pressing stations.

This is one of her rows of small Stack 'n Whack blocks and the finished top.
This is an Asian-themed quilt top on the design wall that Kecia finished. And here she is at her sewing table.
Leslie at one of our cutting stations and with her paper-pieced Bird of Paradise block.
Me sewing at my Juki. I was working on a simple charm square quilt. Finished the first border.

This was another project Kecia worked on using some chintz fabrics she brought back from Amsterdam a couple of years ago. Leslie with a small wall quilt top she finished.

This was the other project I worked on--a kit I bought in Alaska. I only discovered that the last block in the second row was set wrong after I saw this photo. I have fixed it. I also made a pillowcase, a snap bag and a paper-pieced tree block for another quilt.
We did an applique block exchange for the retreat using patterns from Flower Festival by Kim Schaefer. We each did 3 blocks to exchange for a wall quilt or table runner.

At the end of our retreat, l-r Leslie, Kecia and I. We had a great time sewing from morning til late at night.

Sunday, February 12, 2012

Square in a Square Block

Here is a tutorial for the Square in a Square block for our row quilt. This block finishes at 6”. You will make 8 blocks, but only use 7 in the row. The blocks are cut in pairs and pieces switched to make positive and negative blocks. Filler pieces may be required to make the finished row 45 ½”.

This block can be cut either by making copies of the cutting template or by marking your cutting mat as we did with the Old Italian block. The instructions below are for using the paper cutting template. To make a paper cutting template, draw an accurate 6 3/4" square on a piece of paper. Then draw a seam allowance of 1/4" around the 6 3/4" square so now you have a 7 1/4" square outside the 6 3/4" square. Divide each side exactly in half and draw a horizontal and a vertical line dividing the square into quarters. Draw diagonal lines from the center of one side of the 6 3/4" square to the center of the adjacent side of the 6 3/4" square. Repeat for the other 3 quarters of the square. You cannot reuse the paper template once it has been cut, so you will need either 2 or 4 copies depending on how many squares you cut at one time.

If you are using a paper template as your cutting guide, rough cut two 7 ¾” squares of contrasting fabrics. (You will need 4 squares of each fabric total.) Starch and press them together right sides up or down, it doesn’t matter. The rough cut stacks in the photo below left each have two contrasting fabrics. The two squares will make 2 blocks. Trim the paper cutting template about ¼” outside the outermost lines. Place the template on top of your stack of 2 or 4 fabric squares. You can either lightly glue the paper down to the top square using a glue stick, so the paper doesn’t shift, or you can use flathead pins (like the flower head pins by Clover) to pin the paper to the fabric. If you use pins, I would suggest you only cut two squares at a time so the pinning does not distort how the paper lays against the fabric. Pin in all four corners. Do not use round-head pins as they will interfere with your ruler. Trim around the outside of the template so you have a 7 ¼” square.


Then, using your ruler, cut on the four solid diagonal lines across the corners. You will end up with some tiny triangles at the middle of each side. Discard them. Remove the paper pieces and switch the outer triangles and center squares so you have a positive block and a negative block. See the photos.


To sew this block, flip one corner triangle over on top of one side of the square and sew a scant ¼” seam. Be careful not to stretch the fabric as these are bias edges. The starch should help stabilize the fabric. Pick up the corner triangle on the opposite side of the one you just sewed and sew that one to the center square. Press the seams toward the corners. Repeat for the other two corner triangles and again press toward the corners.

Square up the block to 6 ½”. Be sure you have ¼” beyond the points of the center square. If your block is smaller than 6 ½”, wait until you have all your blocks done, so you can try to square them up to approximately the same size. You will cut and sew 4 sets of 2 squares which will make 8 blocks, 7 of which you will use in your row. When you sew the blocks together, you will have a little bulkiness where the seams meet at the edges of the block. Pinning will keep the blocks from shifting. You could also insert a narrow sashing (1” cut, ½” finished) between the blocks and avoid the bulky seams issue. This would also eliminate the need for filler pieces at the ends of the row, if your blocks are 6 ½” unfinished.


Monday, January 23, 2012

Road Trip to Road to California

Friends Patty, Agnes, Barbara and Barbra and myself took a road trip up to Ontario, CA last Friday for the Road to California quilt show. It is the second biggest show in Southern California I think (next to the Long Beach International Quilt Festival in July). We were all excited to see the quilts and shop the vendors. It was a beautiful day and we arrived at the Ontario Convention Center a little before 10 am. I was looking for a specific thimble to replace my favorite that I lost a while back, so I headed for the vendors. I made it up one aisle with no luck and decided it was too crowded to try another aisle. The booths and aisles were just packed, with everyone in gridlock, barely moving in any direction. I went to look at the quilts and although there were a lot of people, it was much better than the vendors. I cannot express how beautiful the quilts were. It seemed like the next quilt was more exquisite than the last one. I took over 350 pictures, which I have posted on Flickr: http://www.flickr.com/photos/karensphotos2011/sets/72157628992585891 I hope you will take a look at them. You won't be disappointed.

We all met for lunch and shared our purchases. I found my thimble and I bought a new applique glue called Appli-Glue. It is archival and has a skinny plastic tip that isn't supposed to clog like Roxanne's sometimes does. Also bought a jacket pattern using batiks and a little wooden sign that says "Just stitchin'....no bitchin'." Since my friendship quilting group is Stitch 'n Bitch Quilters, I thought I would paint out the "o" so it says "Just stitchin' 'n bitchin'." --Excuse my language, no offense intended!

After lunch I wandered over to the other hall, and right there at the entrance was The Quilt Show booth and there were Ricky Tims and Alex Anderson right there in the booth. I decided to buy a DVD set of one of their show series and chatted with Ricky for a few minutes while I waited to be rung up. He was so friendly and approachable. He even smiled for a picture with me. If you aren't familiar with their show, it is internet based. Just google The Quilt Show and you'll find it. The show itself, on which Ricky and Alex host well-known quilters every other week, is a subscription membership, but you can subscribe to their newsletter and get lots of tips, short videos and quilting news for free.
Here are a few of the wonderful quilts. There were also some fashions, The Hoffman Challenge and some dolls.


If you have never attended this show, you must do it sometime. The quilts are just magnificent.


Thursday, January 19, 2012

Arrowhead Block Tutorial

The Arrowhead block is a very simple block to sew as long as you are careful to sew SCANT 1/4" seams, you cut accurately and you match seams carefully. This block finishes at 8 ½”. If you are making the scrappy version, layer two contrasting pieces of fabric, right sides together (RST), starch and press. Then cut an 8” square from the stack. Repeat with other scrap fabrics so you have sets of two 8” squares for each block. For the two-fabric version, layer the two contrasting fabrics RST, starch and press. Cut sets of two 8” squares for each block. Pin the stacks so the fabrics don’t shift. You can click on the photos to enlarge them.


Measure 2” down from the top right corner of one set of squares. Sew a SCANT ¼” seam down the right side, pivot ¼” from the bottom, and sew across the bottom to the end. Backstitch at the beginning of the stitching.

Turn the square so that the bottom of the square is now at the top. Measure 2” down from the raw edge at the top right corner of the square. Sew a second SCANT ¼” seam down the right side, pivot ¼” from the bottom, and sew across the bottom to the end.
Lay the square on your cutting mat as shown in the photo at right below, with the unsewn sections at the top right and lower left. Cut the square in half diagonally through the sewn corners. Be sure you do not cut through the unsewn corners.

Lay one of the sewn triangles on top of the other, with the sewn and raw edges matching. Wrong sides of the top fabric should be facing up in both triangles.

Cut a 2” strip along the left sewn side of the triangle. Without moving the pieces, cut another 2” strip from the other sewn side of the triangle. See photos above right and below right.
Open the sewn pieces and finger press the seam allowances. As you lay out and sew the pieces together, you may need to switch the direction of the seam allowances, so do not press with the iron yet.

Lay out the sewn pieces and the triangles as shown in the photo below left. Notice that opposite fabrics touch each other on all adjacent sides. Pinwheel the seam allowances of the small center 4-patch by removing the two or three stitches within the seam allowance at the seam intersection. See photo at right below.

The pieces are sewn back together on the diagonal. See photo at left below. Press seam allowances as shown in the photo at right below. Sew the three diagonally pieced sections together, matching seams. Press the seams as shown in the photo below right.

Photo below shows detail of seam allowance pressing directions.
You will notice that the outer edges of the block are uneven. That is how it should look. You will trim the edges after you sew all the blocks. Square up the blocks to 9” using the “true-up guide” to mark lines on your ruler (using narrow tape or a marker). The "true-up guide" is available in the book "Rotary Revolution." If you do not have access to the book, you can square up the block by marking off a 9" square on a square-up ruler. Then mark a diagonal line from corner to corner in both directions across the 9" square. Align the two diagonal lines across the center of the center 4-patch, with the corners of the 9" square aligned at the center of the four points at the corners of the block. Trim excess fabric away on all four sides.
When you sew the blocks together, you can sew them all with the same orientation or you can rotate alternate blocks 90 degrees.

Going to Road to California quilt show in Ontario tomorrow so will have loads of pictures to post in a couple of days. Happy Quilting!